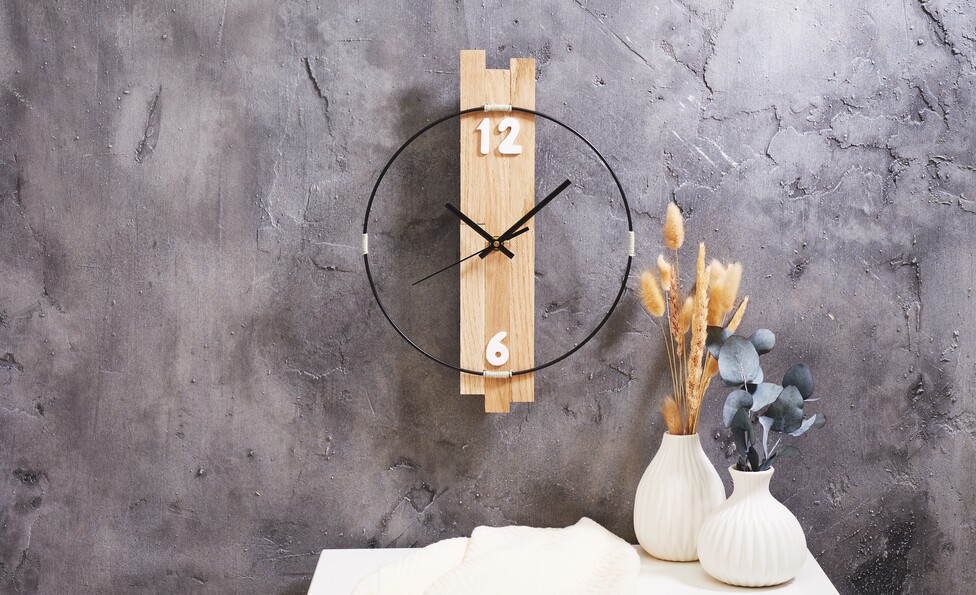
This is how you design the clock:
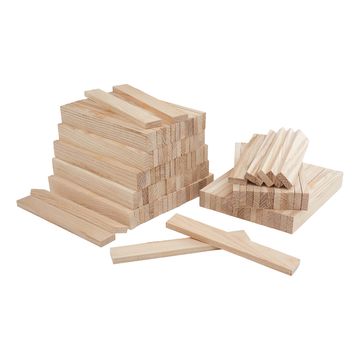
First, take 6 craft blocks, place them in front of you and glue them together to form a panel using VBS handicraft glue. Put them to one side to dry.
Attach 4 opposite markings to the metal ring where the times 12:00, 3:00, 6:00 and 9:00 will later be. To do this, attach the beginning of the cotton cord to the metal ring with a little glue. Leave it to dry briefly. Then wrap approx. 2 cm of cord around the ring and glue the end down again. Repeat this on the other markings.
Now take the wooden surface with the glued-together craft blocks. Measure the centre with a ruler, mark this point with a pencil and drill an 8 mm hole for the clockwork.
Place the metal ring in the centre of the wood. Mark the contact points of the metal ring to the right and left of the cotton cord at 12.00 and 6.00 and drill two small holes (approx. 3 mm) in each. Take a piece of cotton cord, thread it through the drilled holes using a darning needle and use it to knot the metal ring to the wood.
Plug the lace from the clockwork through the wood from behind and turn the whole thing round. Assemble the clock with the washers and hands according to the instructions on the pack.
Finally, glue the wooden numbers on with handicraft glue.