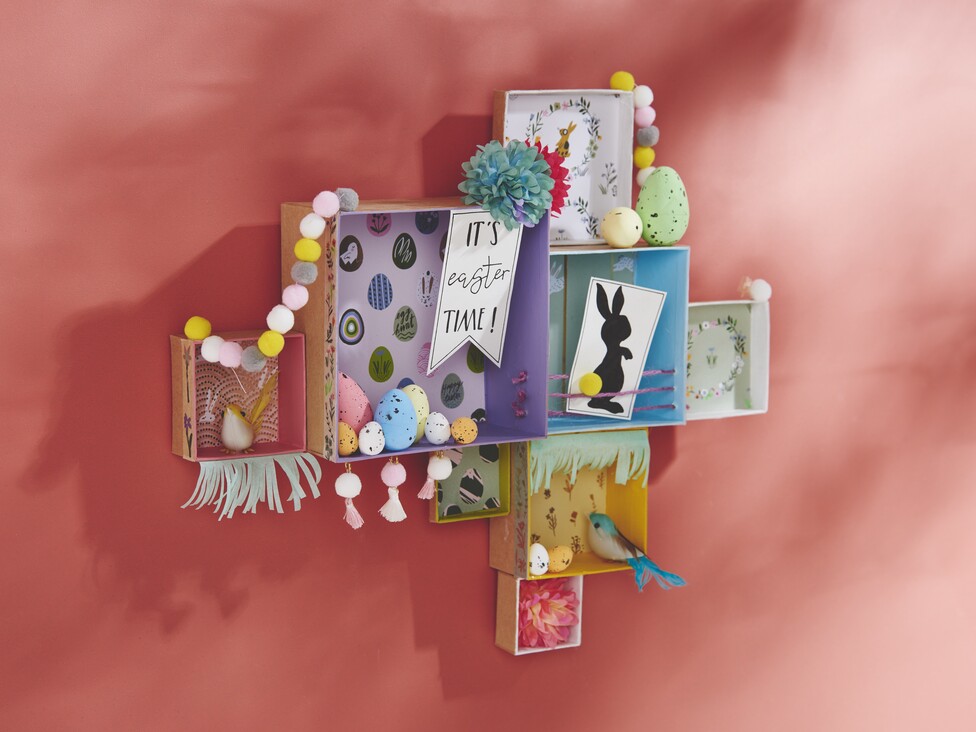
This is how the creative shelf is made:
Place the boxes on the papers you want to have as a background. Transfer the size to the paper and cut out the squares.
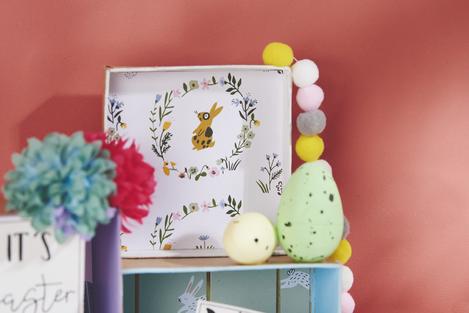
Before you glue the background into the boxes, first design the boxes in your desired colours to match the respective papers. Use craft paint for this.
Now glue the boxes together in the way that suits you best on your wall or windowsill.
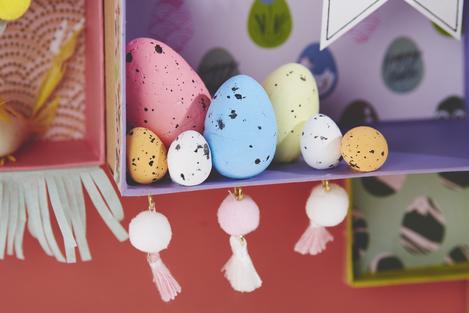
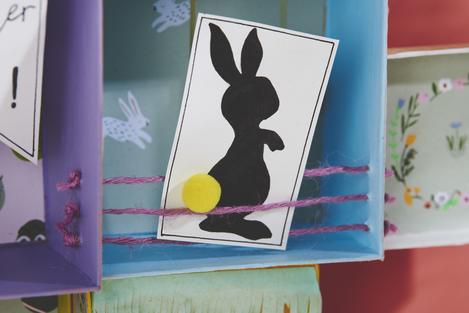
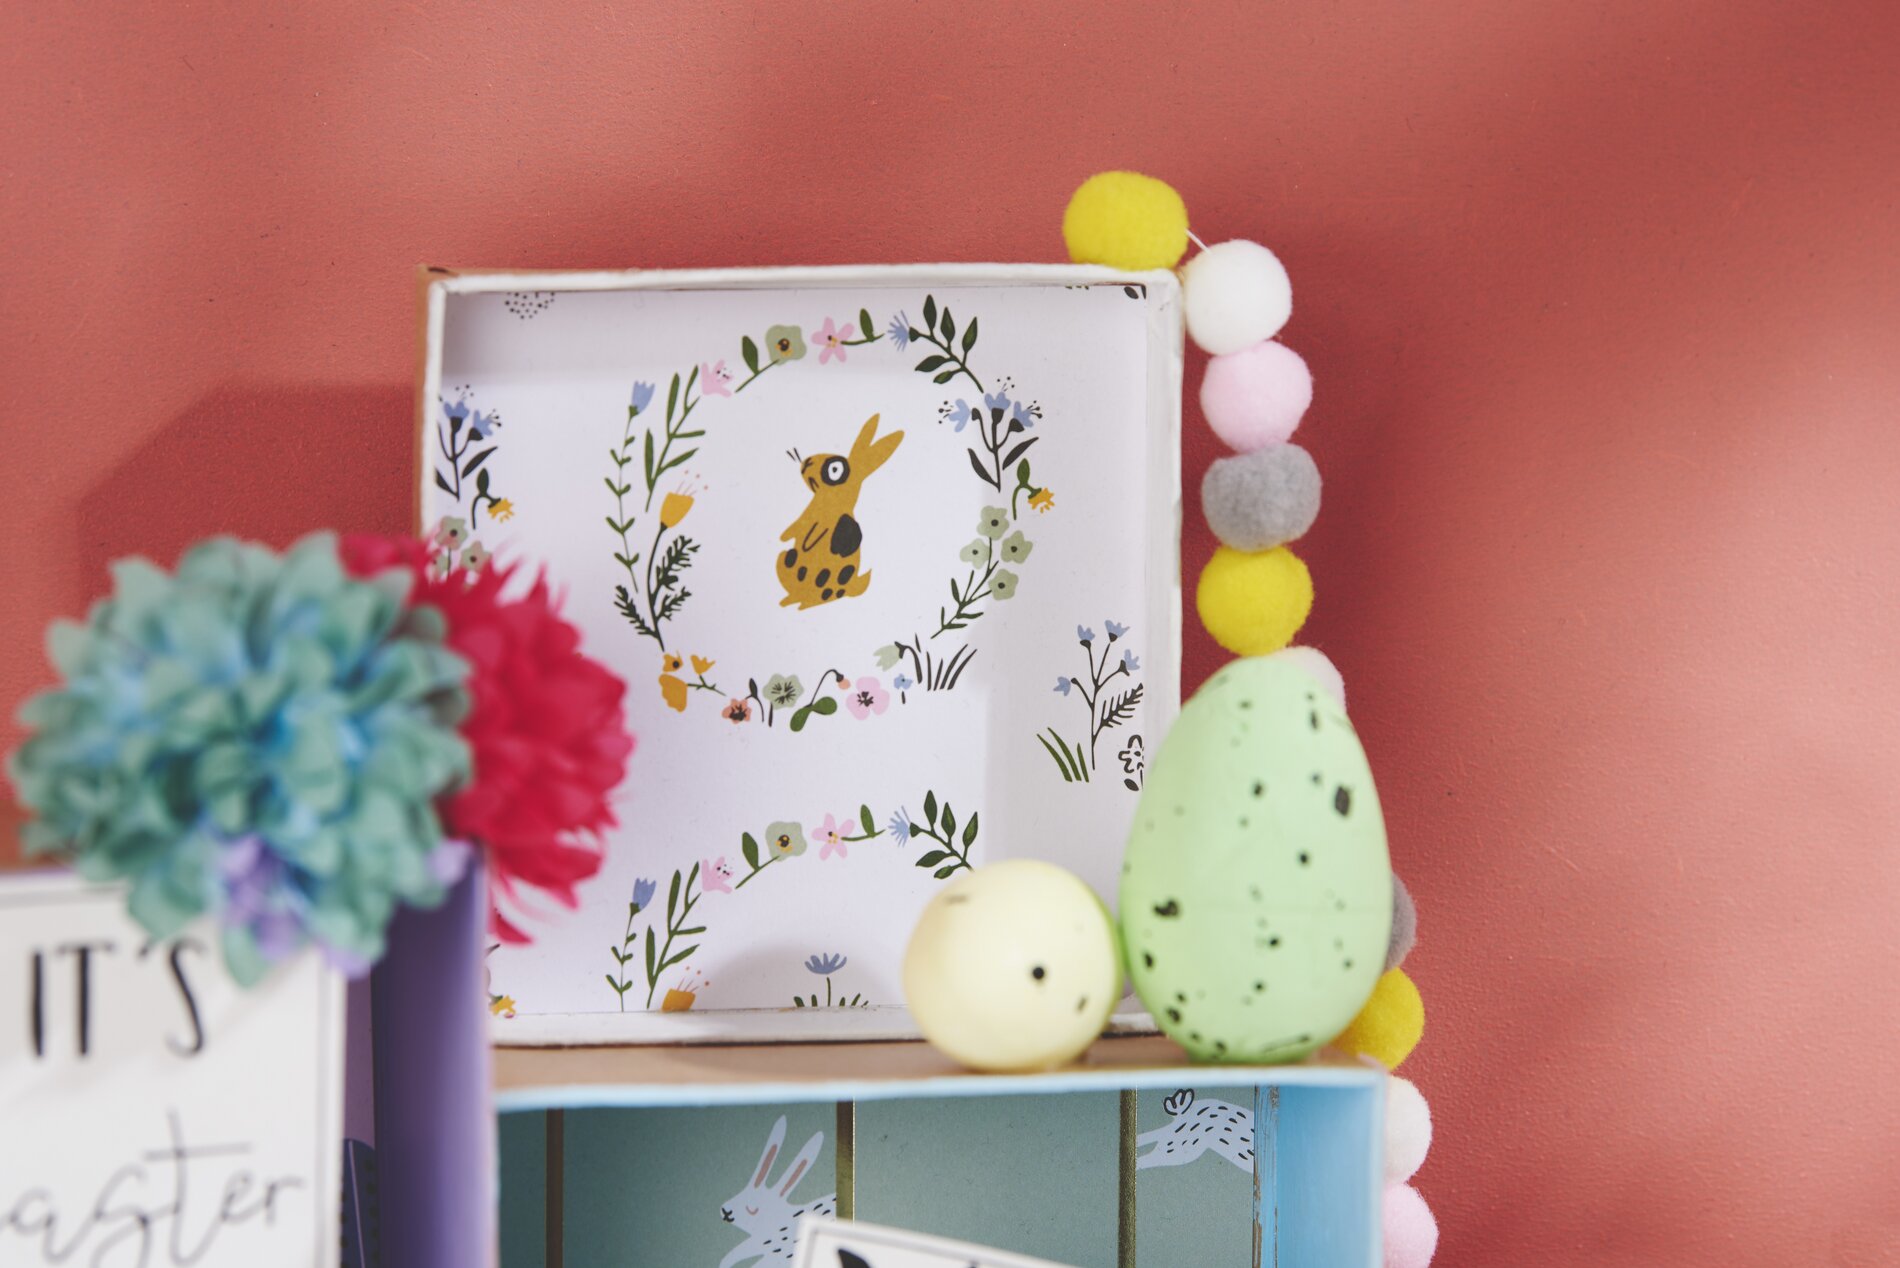
Now you can decorate the boxes as you like with tapes, sayings, eggs, flowers, pompoms and birds and create a little Easter scene. You can also use the shelves as a creative place by placing finished handicrafts, sketches and much more on the shelves bit by bit, filling them up more and more over time. This way, you have a great place where all creative projects can come together and be viewed.