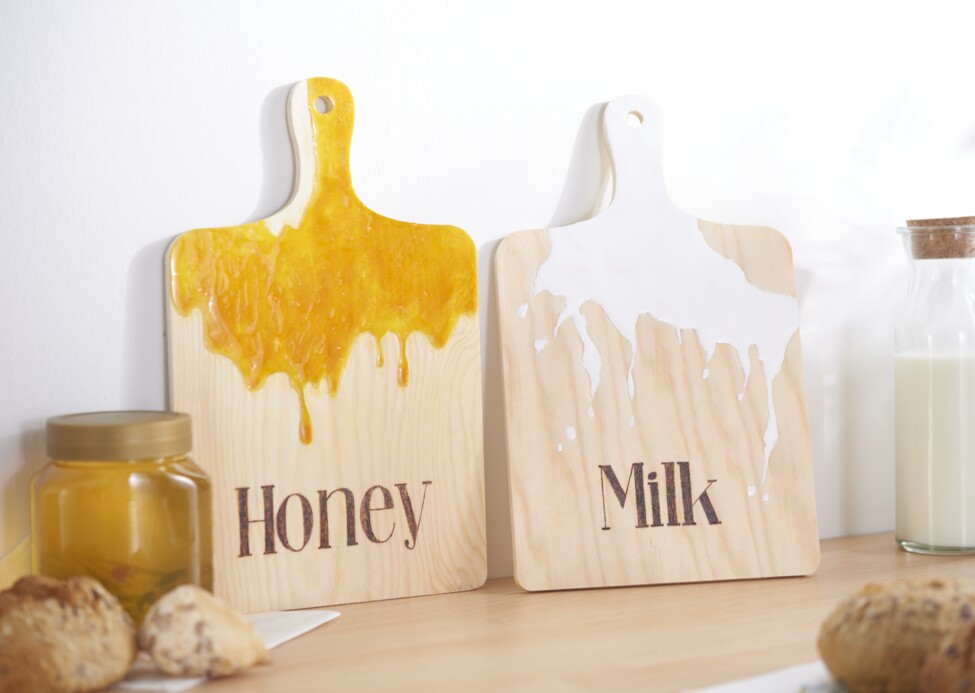
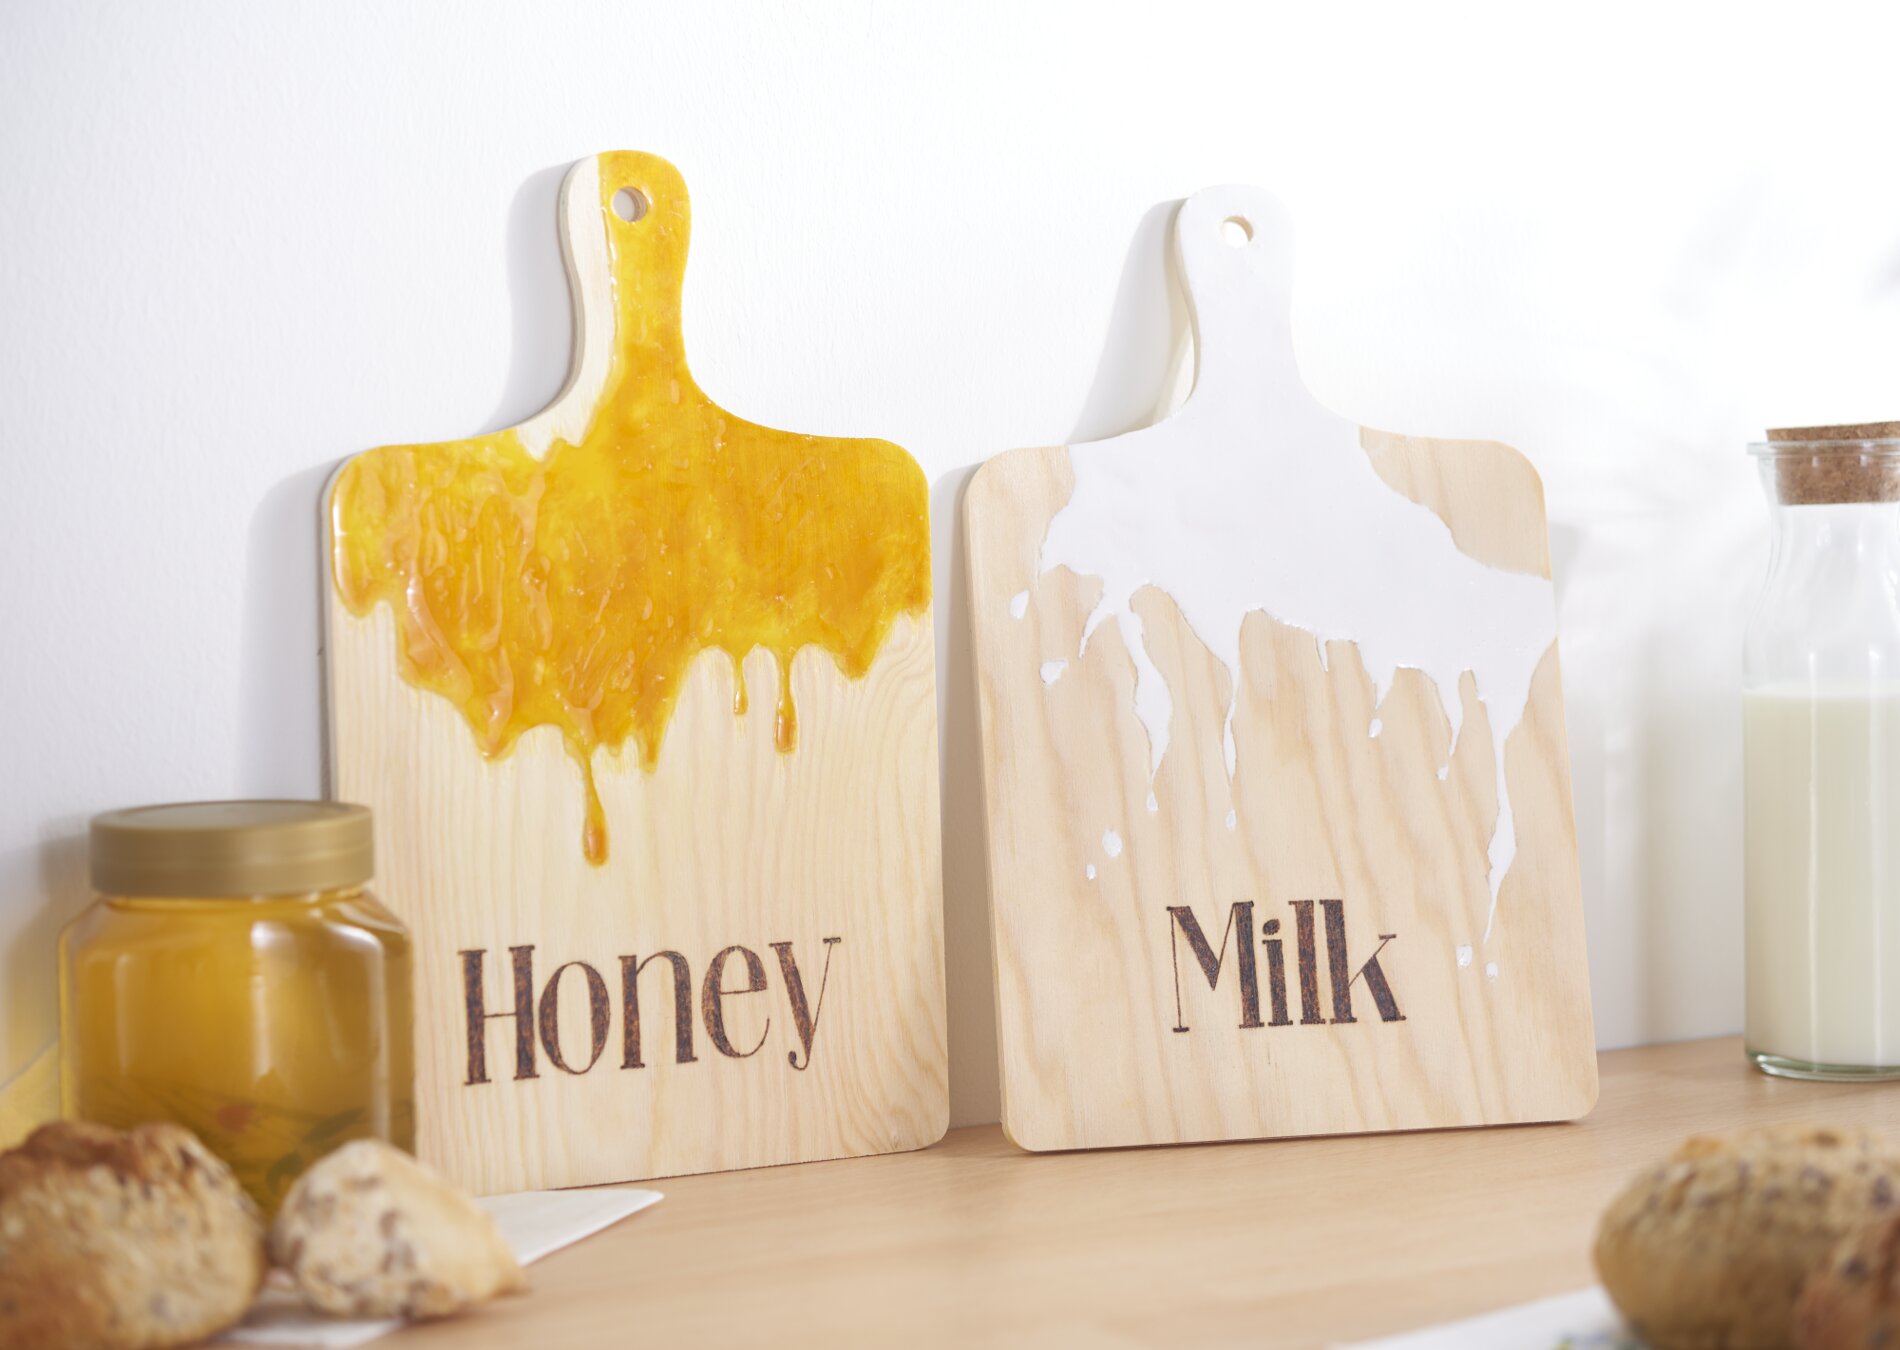
Zeichnen Sie mit einem
Bleistift die Umrandungen vom herunterlaufenden Honig und der fließenden Milch vor. Die Ränder werden dann mit einem
Prägestift etwas eingedrückt, damit später das
Gießharz nicht zu sehr verläuft. Mischen Sie die
Kaltglasur laut Anleitung an und geben Sie wenige Tropfen der
Abtönfarbe dazu. Rühren Sie die Masse gut um.
Tragen Sie die
Kaltglasur mit einem
Holzspatel auf die gewünschten Stellen auf. Für feine oder zulaufende Stellen eignet sich ein
Bambusspieß. Für den Honig wird eine erste Schicht aufgetragen, dann geben Sie in die Masse noch etwas mehr Farbe dazu, damit die Farbe dunkler wird. Diese können Sie dann auf die erste Schicht noch auftragen. Unebene Stellen oder kleine Bläschen können Sie mit einem
Brenner (z. B. mit einem Creme Brulee Brenner bzw. Flambiergerät) ausbessern. Lassen Sie anschließend alles ca.
24 Stunden trocknen.
Sobald alles getrocknet ist, können übergelaufene Stellen vom Harz mit der
Proxxon oder einem
Glasgravur-Werkzeug entfernt werden. Nun können Sie mit dem Brandmalen beginnen. Zeichnen Sie sich die Worte „Honey“ und „Milk“ gegebenenfalls mit einem
Bleistift vor. Starten Sie damit, die Linien mit dem
Brandmalstift nachzumalen, sobald dieser heiß genug ist. Zum Abschluss wird alles noch einmal mit Schleifpapier übergeschliffen.

