Creative Christmas decorations with Wooden building kits - Your DIY instructions
Painting Wooden building kits
First, paint the Wooden building kits with the craft paints of your choice. Use Christmassy colours such as red, green, gold or silver to create a festive atmosphere. To give the building kits additional vibrancy, draw on the eyes with a permanent marker if necessary. Make sure that the colours dry well before moving on to the next step.
Apply decorative snow
Once the colours have dried, apply decorative snow to the painted Wooden building kits. This gives your motifs a wintry touch and makes them look as if they have just arrived in a winter wonderland. Use the decorative snow liner to achieve a decorative, realistic look.
Prepare the bark disc
The bark disc is also covered with decorative snow to round off your winter landscape perfectly. The bark disc gives your decoration a natural look that goes wonderfully with the Wooden building kits.
Plugs the motifs into the holes
Now plug the painted and snow-covered Wooden building kits into the prepared holes and fix them in place with a little handicraft glue or a hot glue gun. Make sure that everything is stable and doesn't wobble.
Arrangement on the wooden decorative panel
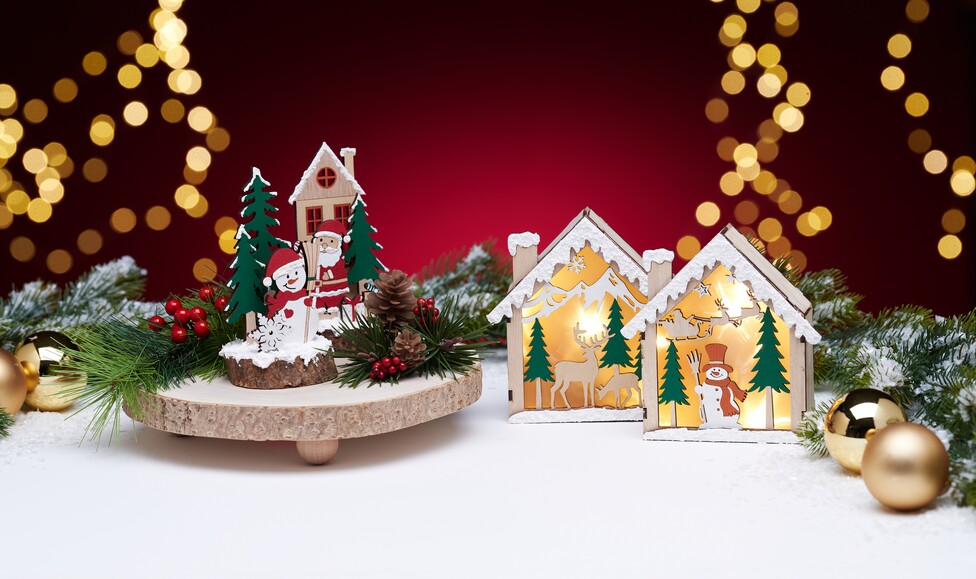
Next, place the winter arrangement on the wooden decorative panel. Arrange the building kits, flowers, cones and decorations so that everything looks harmonious and stylish. Here too, you can use glue such as hot glue to fix the individual elements in place and ensure that nothing slips.
Your do-it-yourself winter wonderland
After these simple steps, you will have created a beautiful Christmas decoration that is guaranteed to draw admiration. Whether as a table centrepiece, window decoration or gift - this winter craft idea is guaranteed to bring a festive atmosphere to any home.
Order all the materials you need from our online shop now and bring a piece of Christmas magic into your home. Have fun crafting and Merry Christmas!