- Free shipping from 69 € within Austria
- Secure order
- Easy return shipment
- Service-Hotline 01 662 20 20Mo.-Fr. 9 - 17 h
Instructions No. 516
Difficulty: Beginner
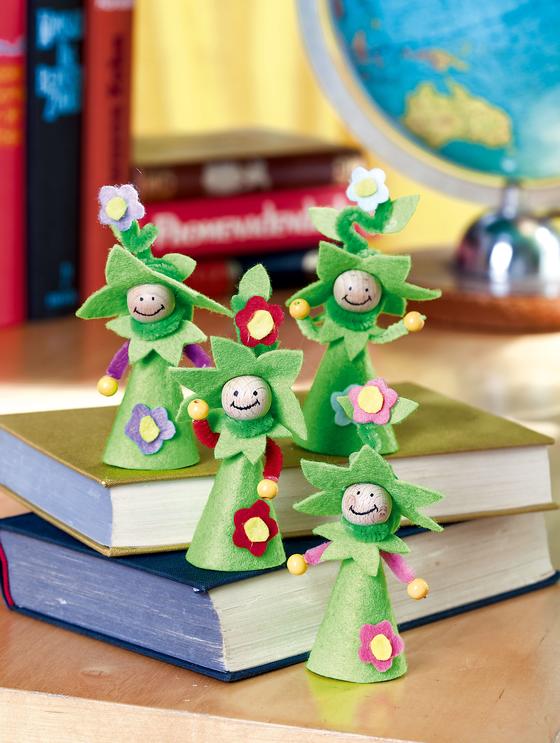

First you put the templates on a sturdy cardboard and draw the outlines with a ballpoint pen. This way, they press through the cardboard and you can easily cut them out. Then place these templates on the green Felt, and outline them with the line-ex pen and cut out the individual parts. Don't worry, the colour from Strich-Ex-Stift disappears all by itself.
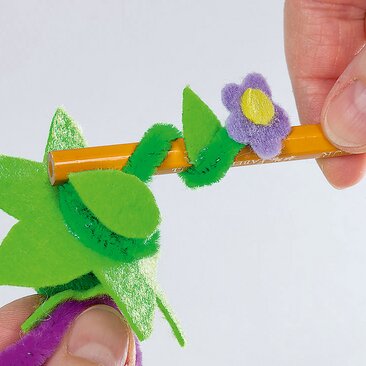
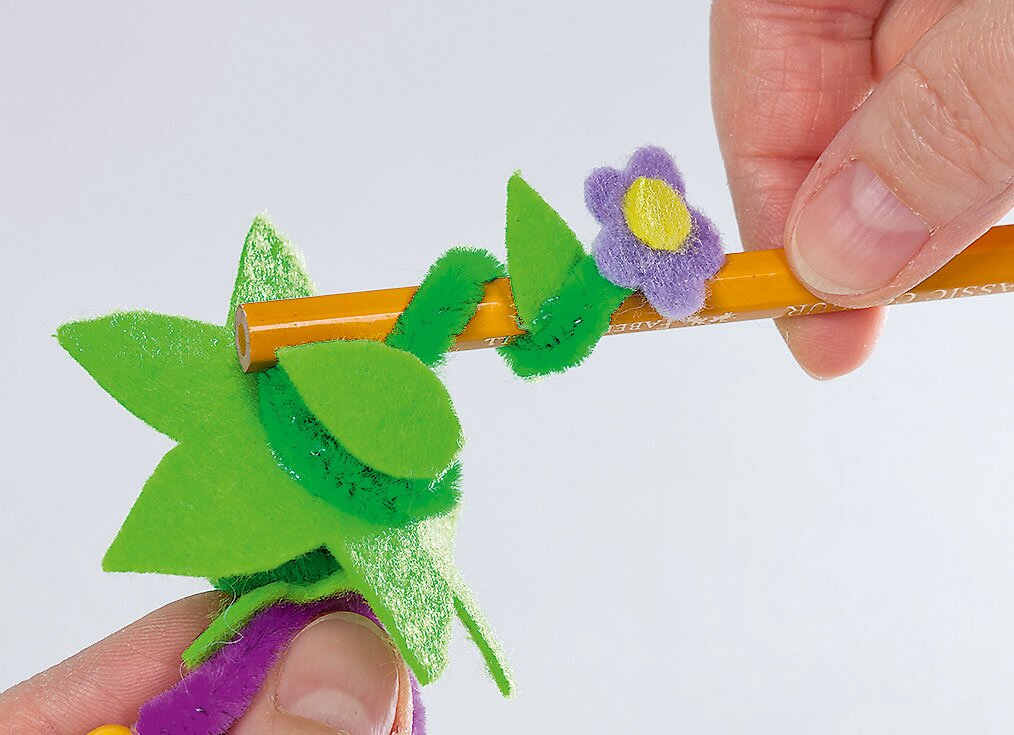
From the Felt for the body you form a cone. Glue the edges together with hot glue. On top of it you glue the collar, a Wooden ball as head and the hat. Under the head you stick a piece of green Chenille wire around the figure, a slightly longer piece you stick as a spiral on the hat. You can easily cut Chenille wire into smaller pieces with a side cutter.
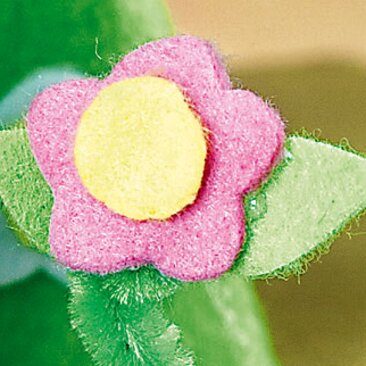
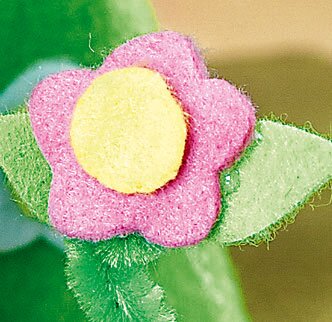
Next, cut out small colorful flowers from Felt - two pieces for each fairy - and a slightly smaller yellow circle for each flower. Stick it in the middle. Stick one flower on the body and another one on the top of the Chenille wire-spiral hat
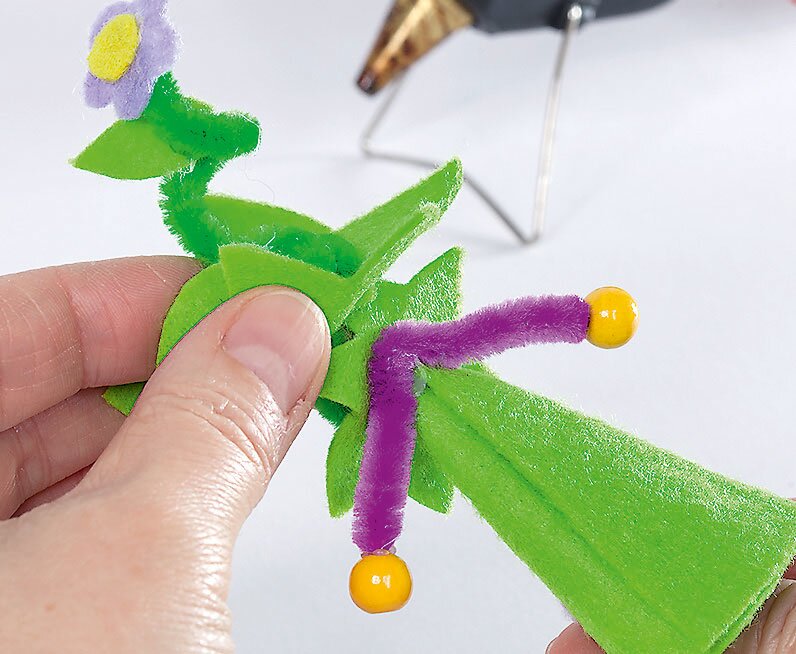
Now you cut the arms out of colorful Chenille wire , it is best to use a different color for each flower elf. Put a yellow wooden bead on both ends and glue the arms behind the back. Now you have to paint only with the black Fine Liner a happy face on Wooden ball and your spring fairies are ready.