Step-by-step instructions: DIY envelopes
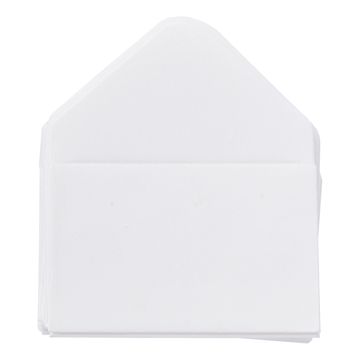
Step 1: Design envelopes
Take the small envelopes and design them however you like. You can use different pens - from coloured pencils to felt-tip pens to metallic pens. There are no limits to your creativity! Draw colourful patterns or use stencils for precise designs. This makes every envelope unique.
Step 2: Cut out small letters
Cut out matching small letters from white cardboard. These should be large enough to fit easily into the envelopes. If you don't have white cardboard, you can also use coloured paper. Make sure that the cardboard is strong enough.
Step 3: Labelling the letters
Label the little letters with greetings, messages, puzzles, mindfulness messages or various games and activities. These little surprises make the advent calendar or birthday present particularly exciting and varied. For example, you can write poems, quotes or small tasks on the letters to make the recipient happy every day.
Step 4: Fill the envelopes
Put the small letters you have written into the designed envelopes. You can also use small stickers or seals to close the envelopes and add an additional decorative element.
Step 5: Place the envelopes in the storage jar
Place the filled envelopes in a storage jar. You can decorate the jar however you like or leave it plain - it's up to you. The transparent glass allows some of the coloured envelopes to shine through and arouses the recipient's curiosity.
Step 6: Decorate the storage jar
Decorate the storage jar with ribbons. Choose coloured ribbons that match the design of the envelopes and wrap them around the jar. You can also add small decoration pendants or labels to make the gift even more personalised.
Ready to make your own DIY envelopes? You'll find all the materials you need to realise this creative gift idea in our online shop. Whether for an advent calendar or as a unique birthday present - take a look and get inspired! Buy your materials now and get started!