Sewing the pillowcase with hotel clasp
First the pillowcase is sewn. Here we have decided to use a hotel fastening, because it is simple and it is also especially suitable for sewing beginners.
For our pillow we have sewn a pillowcase measuring 40 x 50 cm. Of course you can also use other sizes for your pillow. Simply double the width of your
fabric. In our example, this means that we have cut a fabric measuring 80 x 50 cm
Add a seam allowance of 3 cm to the width and 2 cm to the height as well as the additional fabric for the wrapping. For this, calculate with about one third of the simple cushion width and add this to the length. For our pillow we need a cut of 100 x 52
First fold in 2 cm on the two short sides and topstitch the edges with a narrow edge. This will give you a clean finish.
Now flip the two short sides overlapping right to right so that you get a cushion size of your desired size. In our case a rectangle of 50 x 40 cm. Pin the open edges with
Pins and sew these sides together
Then turn your pillow over and iron it if necessary. Your pillowcase is ready!
Pillow inlet sewing:
For our pillow we have also sewn a ticking. Since our pillow measures 40 x 50 cm, we sew the ticking in the same size. To do this, simply double the width of your fabric as described above. In our example this means that we have cut a fabric in the size 80 x 50 cm. Take into account a seam allowance of 1 cm when cutting.
Now lay your fabric right on top of each other, i.e. the "nice" sides of the fabric lie on top of each other. Now sew the edges together. Leave an opening open for filling
Then fill the ticking with Soft-Flocks
or other filling materials. Now sew up the opening.
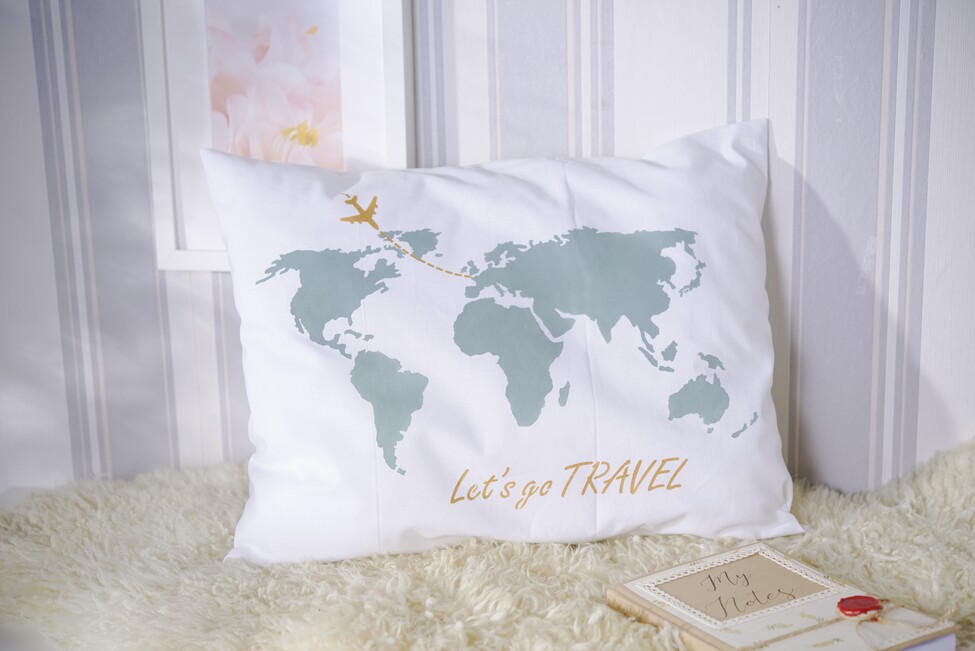
Stencil the motif onto the cushion
Place cardboard in the finished pillowcase so that the colour does not penetrate. Spray the underside of the cardboard with Stencil some spray glue
and place it on your pillow as desired. Dab the
stencil motif in your
desired colour as well as the text and the flyer. Let everything dry well.
Finally you put the ticking into the finished cover.