Instructions for 1 Organizer: Download the
templates and transfer them to your desired fabrics
and fleece. Please note that the template is placed at the fabric break. Cut this with 1 cm seam allowance. All in all you need the cuttings once from your outer fabric, once from lining fabric and once from volume fleece and approx. 10 cm bias tape
First iron the volume fleece onto the
lining fabric. Follow the manufacturer's instructions for the fleece.
Now place both the outer fabric and the lining right sides together at the breaking edge. Close the side and bottom seams. Leave a turning opening at the side seam of the lining fabric!
Now the
corners of all parts are
sewn for the floor depth. For this purpose the sides and bottom are placed on top of each other. It is important that the seams meet each other.
In the next step, turn your out Organizer of the outer fabric so that the "good side" is visible on the outside. Fold the bias tape in the middle, pin it to the seam at the centre back and sew it tightly in place. The loop points downwards, towards the bottom seam
Now insert the cuttings Organizer from the outer fabric right sides together into the lining silo and sew the edges together
Finally, turn it Organizer through the
turning opening on the side seam of the lining fabric and sew the turning opening closed. The best way to do this is the magic stitch
. Iron if necessary and you have a practical storage bag for all kinds of small items
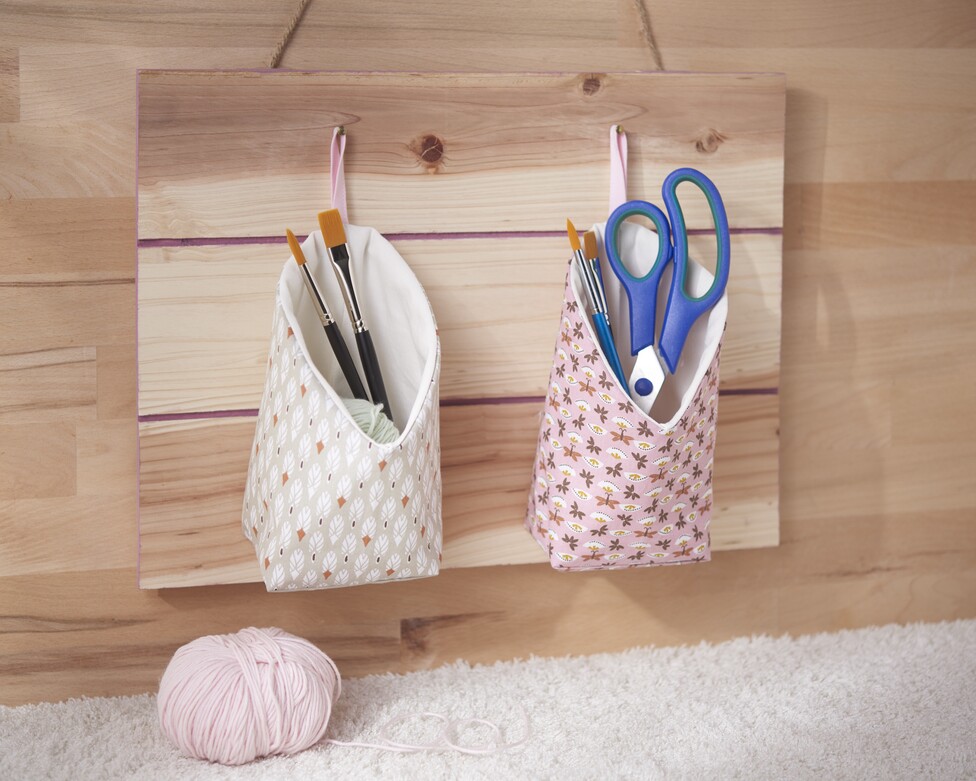
In our decoration example we have Organizer sewn another one and attached these two to the wooden plate. If you wish, you can paint the wooden plate with handicraft colours before hanging up the utensils. Then they Organizer can be hung up decoratively and you always have everything to hand.