Print out the template for the wings and place it under the shrink film
. To prevent the original from slipping, fix it from below with adhesive tape. Make sure that the roughened side of the foil must face upwards.
Transfer the individual motifs
onto the foil with a
fine liner When the contours are dry, you can color the areas. We have chosen to use brushpens so that the color is transparent. But you can also Felt-tip pens Coloured pencils use or to achieve a covering colour result
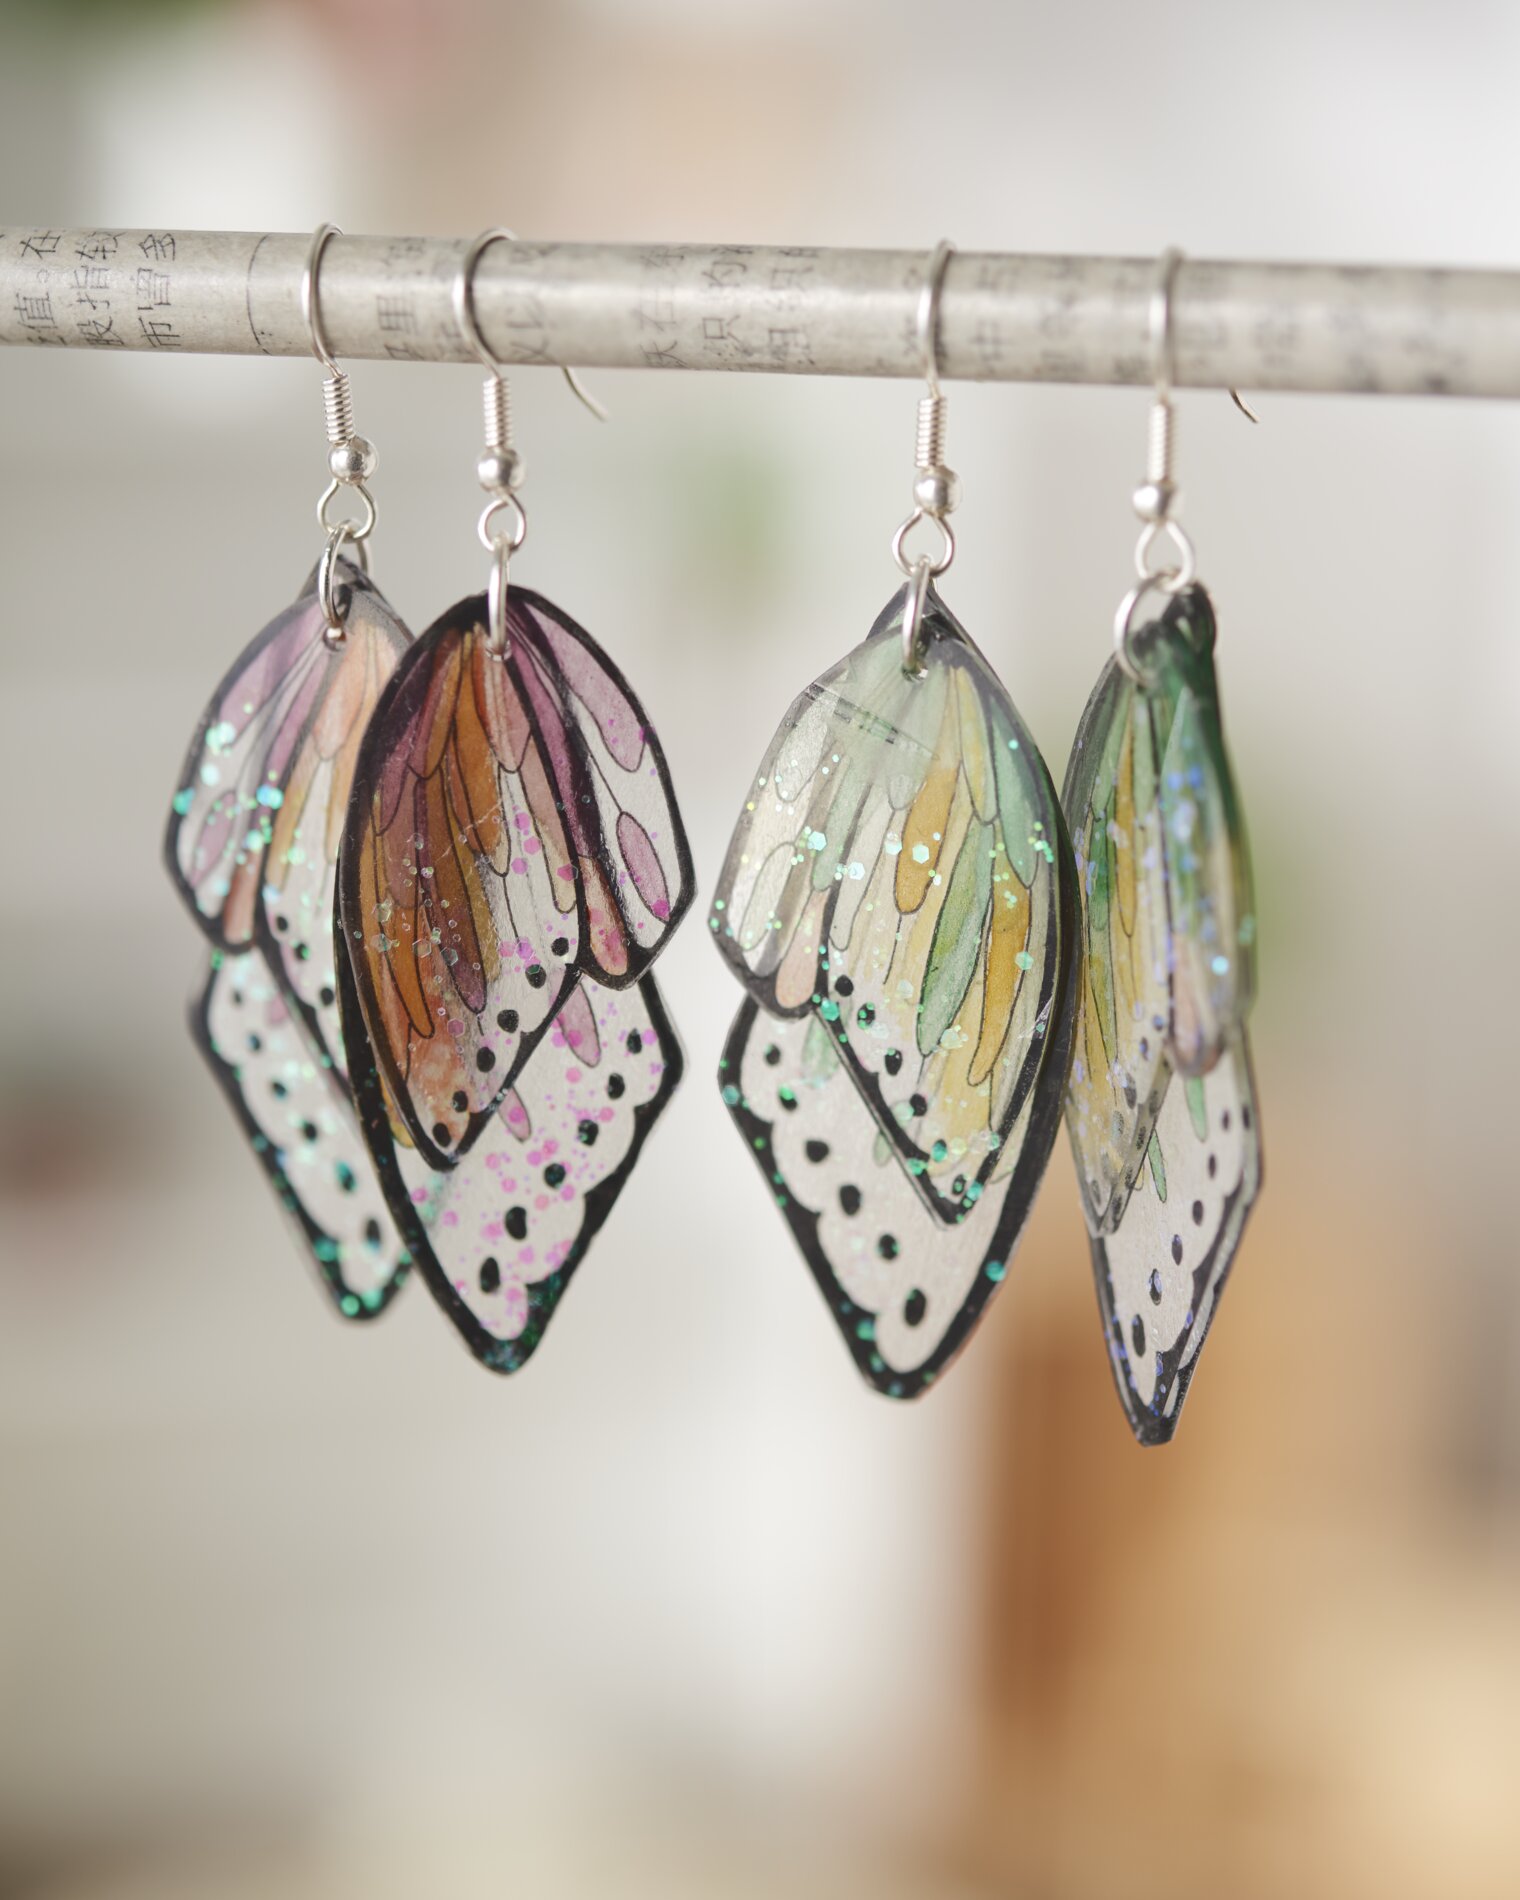
Cut out the individual wings and use a hole punch
(attachment approx. Ø 4mm) to make a hole at the top of each wing.
Shrink the film according to the instructions on the packaging and let it cool down briefly. For the shrinking process, preheat your oven to 120 °C (top/bottom heat). The cut-out motif is placed with the painted side facing upwards on a baking tray lined with baking paper. Don't worry, it is quite normal for the film to curl partially during the shrinking process. When your piece of jewellery lies flat on the baking tray again, you can take the foil out of the oven