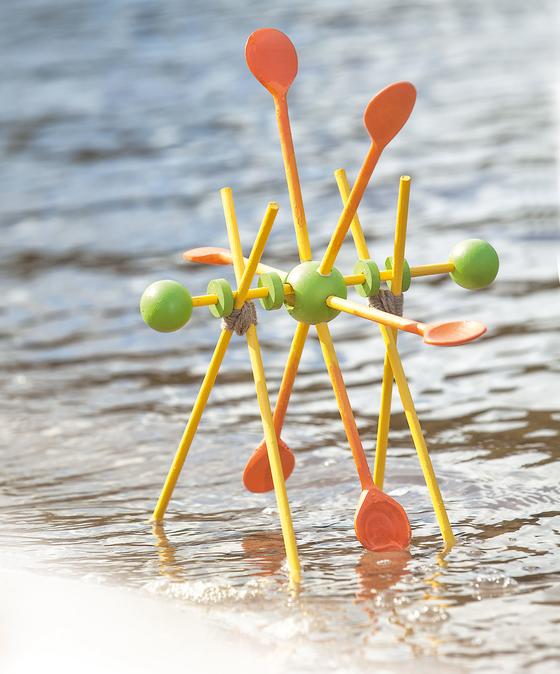
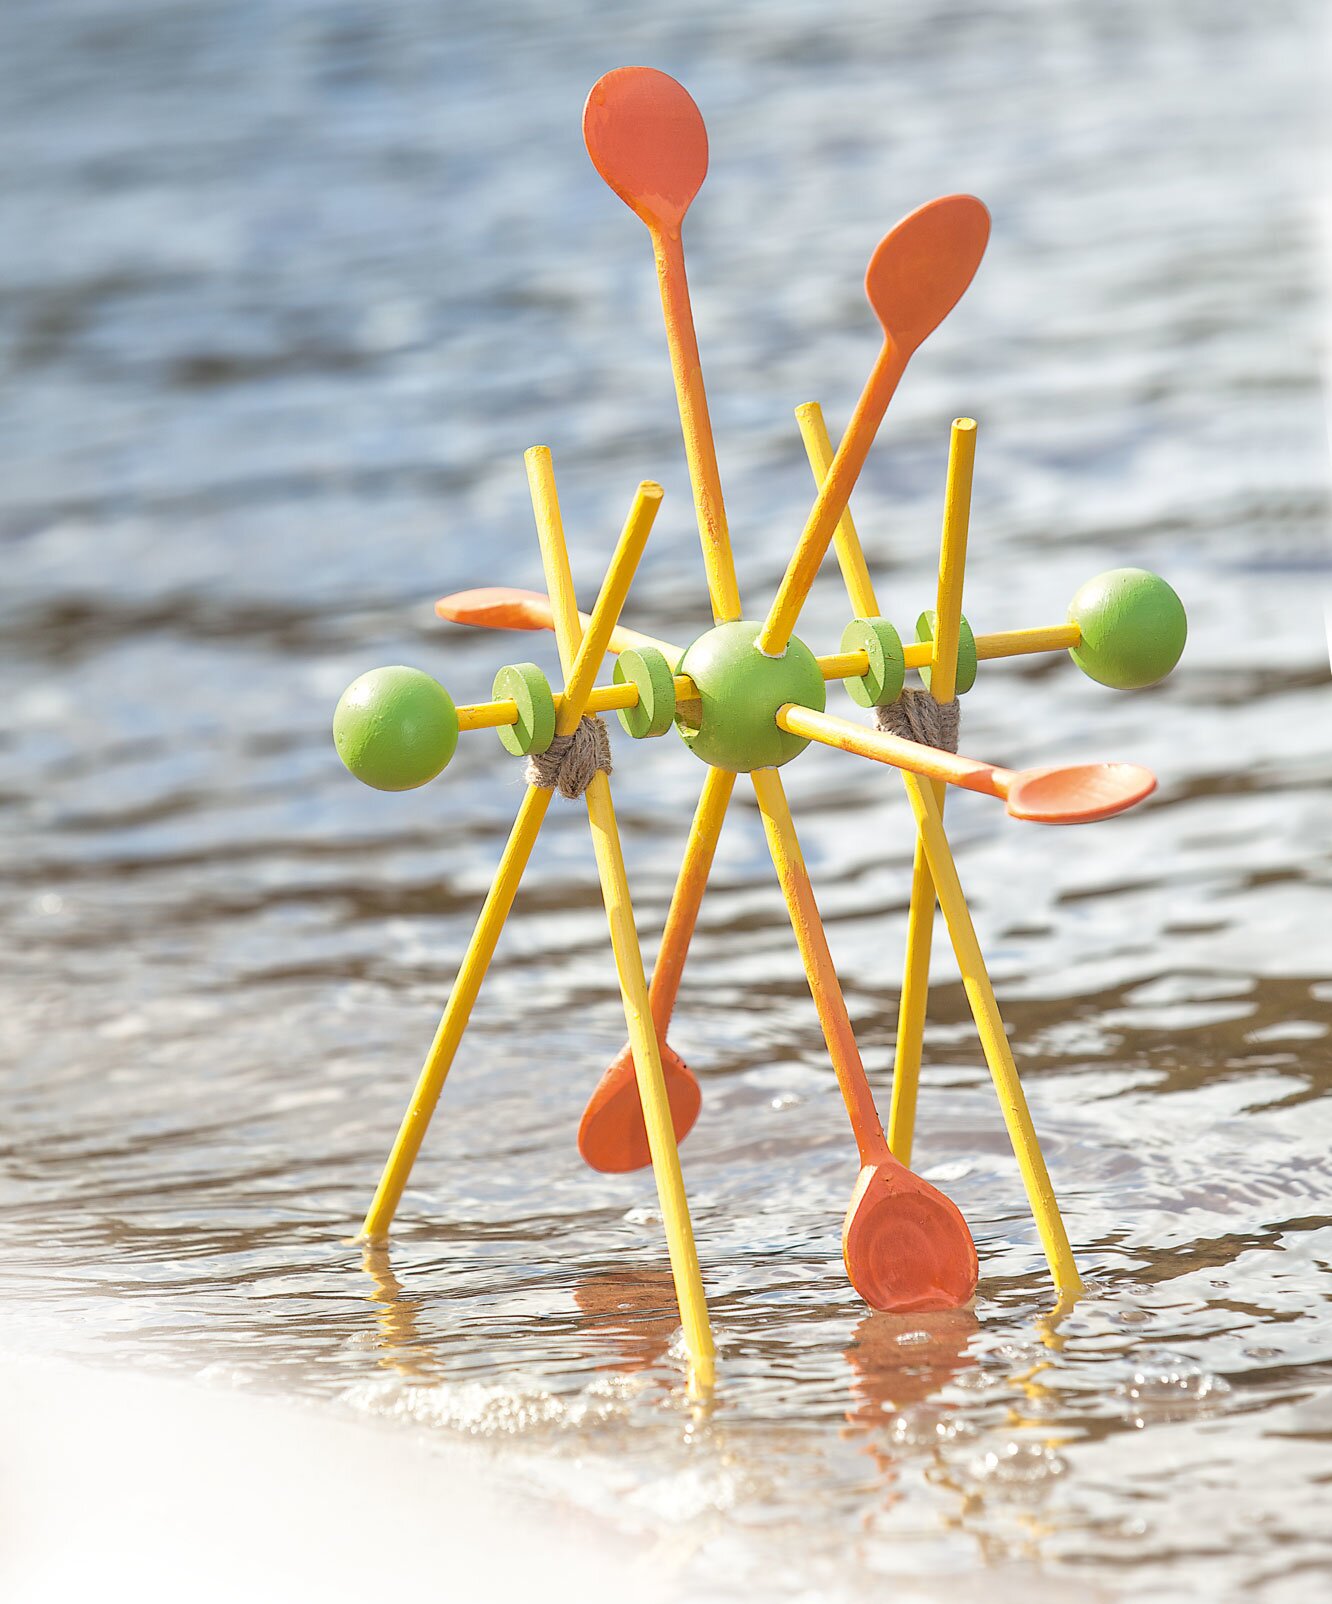
The water wheel is made with a
Ø 50 mm wooden ball as a groove in the centre. Our wooden spoons each have a handle Ø of 10 mm, as does the round rod that will later serve as the wheel suspension. To be able to insert these and a suitable round rod through the wooden ball, you will also need a cordless screwdriver (electric) and a suitable drill bit with the appropriate diameter for this idea.
And this is how it works:First transfer the circumference of the drilled-through ball onto masking tape and draw a mark on it every 26 mm. Then stick the adhesive tape around the drilled-through ball and pre-drill the holes with a small drill bit before enlarging and deepening them to approx. 10 mm with a larger drill bit. Also enlarge the existing hole in the drilled-through
wooden ball (size 50 mm) and the half-drilled balls (40 mm) to 10 mm each.
Sharpen the wooden spoons until they fit into the holes and paint them with weatherproof craft paint. Coat the sharpened ends with wood glue, squirt some wood glue into the holes and glue the spoons inside to create a water wheel. The wood glue must be completely dry before you continue working.